As a motion graphics designer, you’re expected to be a composition prodigy, and of the many tools in this trade, masks reign supreme. Masks are an indispensable tool in After Effects. If you want to upgrade your work and keep up with the experts, this is one skill you certainly need to pick up.
Adding an exciting animation behind an object can give an edge to an otherwise dull scene. To achieve this striking look, you must mask the object from your composition and add graphics or text behind it.
But of course, you must learn the basics before trying something super crazy. This simple-to-learn and hard-to-master tool can fuel up your video editing and motion graphics game like never before.
So, today, we’ll introduce you to basic Masking in After Effects and animating a path. So read on this masking in the After Effects tutorial, boot up After Effects, and you’ll be an expert in no time.
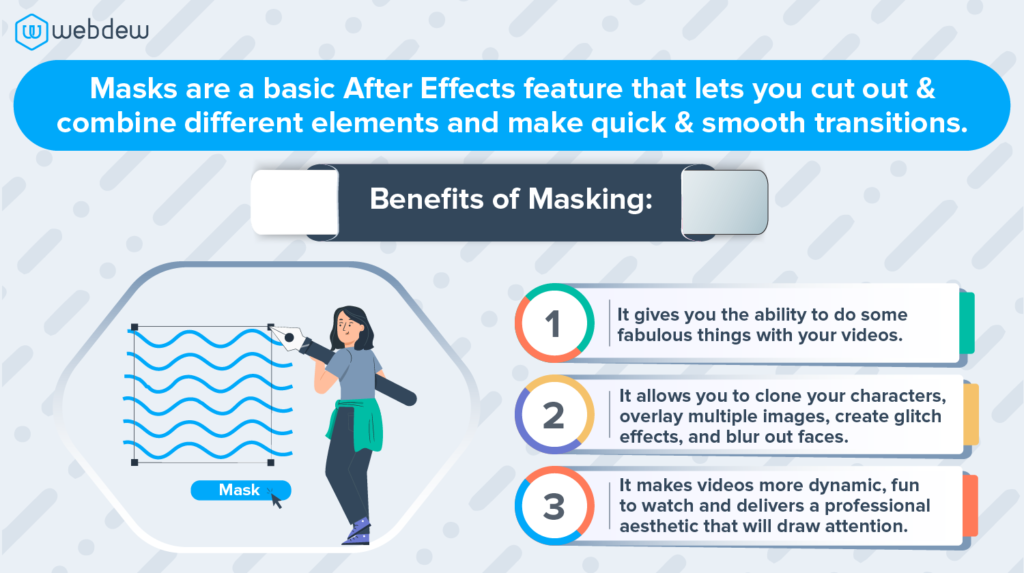
What is masking?
A mask can be a path or an outline often used to modify layer effects and properties. Typically, a mask in After Effects is a shape that hides or shows a specific area of a layer in your composition.
You can use masking in After Effects to hide or reveal part of a layer or an object. Animations can begin with a mask over an object, such as text, and then slide out to reveal the object. Alternatively, they can remain static on the frame to crop out any unwanted elements.
Moreover, masking plays a vital role in the video production industry because sometimes, you may need to remove something from the video after the shoot, and masking is perhaps the best option in such cases.
Besides, you can remove an object from a photo or video, create a cutout, create shapes, or even insert the graphic of your choice into your favourite music videos!
Now, who wouldn’t want to learn that?
Getting started with masking
In Adobe After Effects, masks are perhaps one of the tools you will use the most. Masks are an incredibly versatile tool; however, they can be a little overwhelming and intimidating to get your head around at first.
New to After Effects and still trying to figure out how to use the masking tool? Let’s dive into how you can include masks in your projects.
Step 1 – Load your image

Step 2 – Click on the pen icon

Step 3 – Add the required background


Step 4 – Check the final image
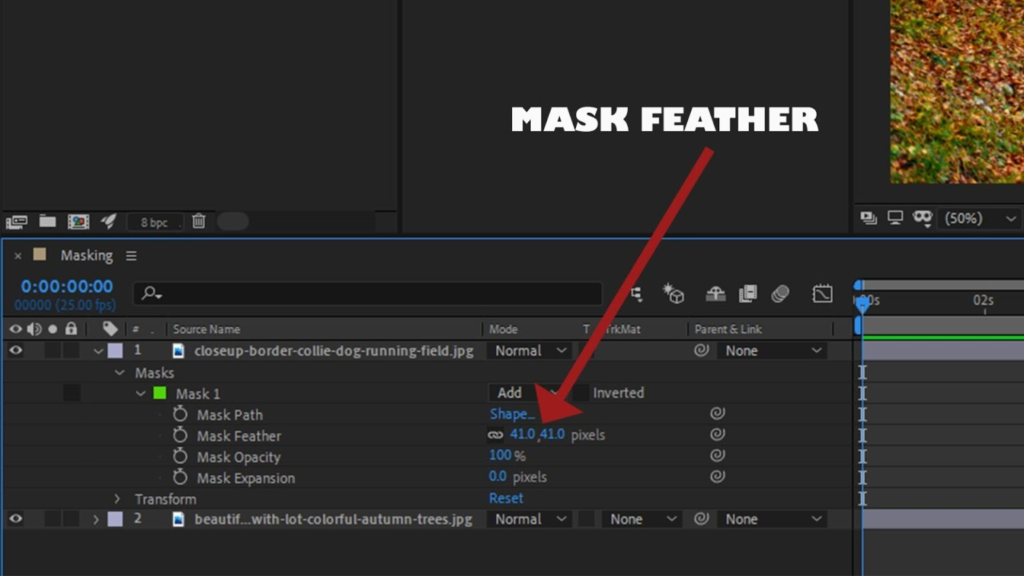
Step 5 – Mask text

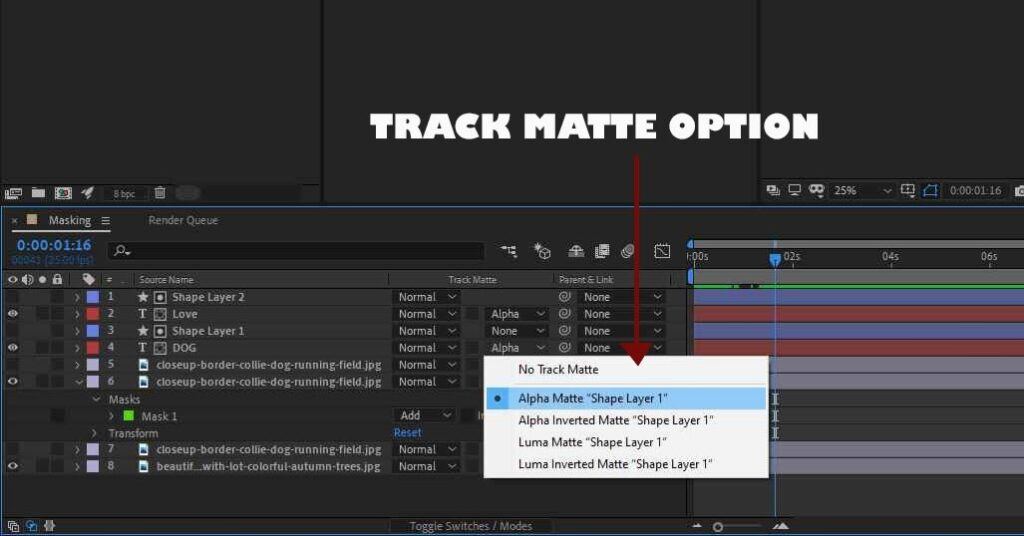
Step 6 – Select Track Matter function
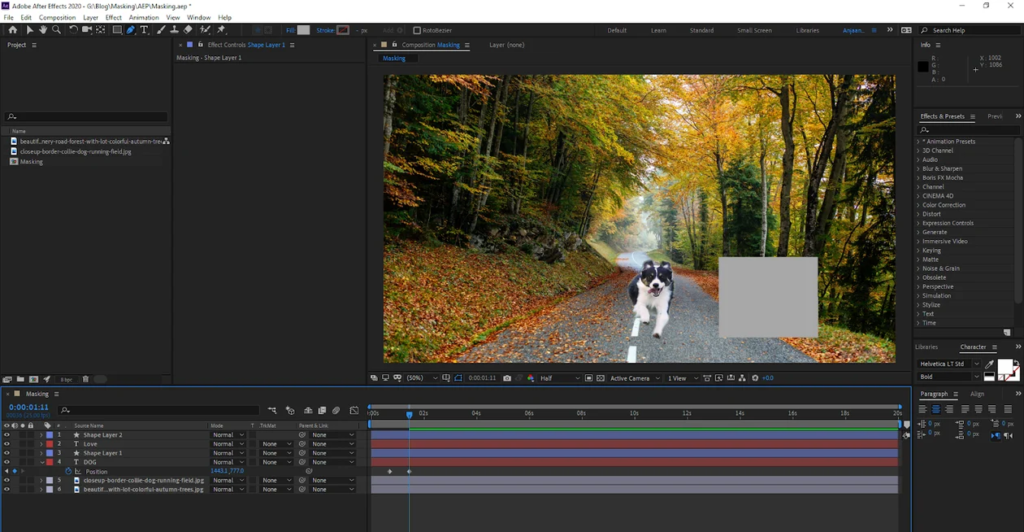
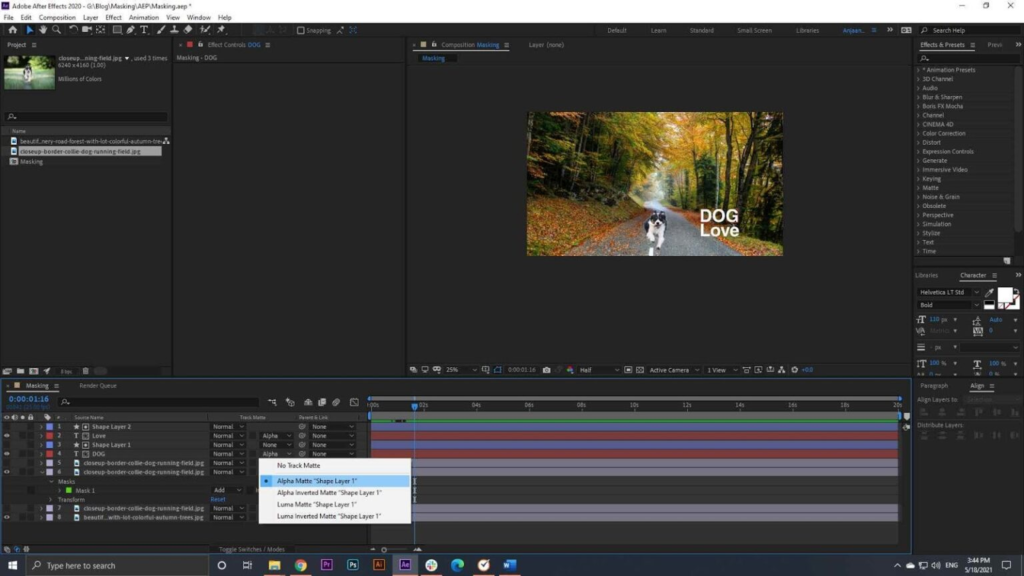
Watch this video clip to see Masking in action.
Still, wondering about how effective masking can be in your After Effects composition?
Well, once you’ve successfully created your After Effects mask, you’ll notice it has a whole new world of exciting and practical applications. And, exploring these features will gear you up to becoming an expert motion graphics artist since masks are an indispensable component of creating digital art in After Effects.
All set to do Masking in After Effects?
Well, there you go, folks! That was all about the basics of Masks in After Effects. Understanding how masking works is undoubtedly an essential skill for any videographer or motion graphics artist, and this is just the beginning.
Besides, masks make up some of the fundamentals of After Effects, and mastering them will definitely set you on the way to creating remarkable motion graphics in no time. Once you get the hang of the different ways of creating a mask, try creating several within one composition and experiment with the mask modes to see how the masks interact with each other.
So what are you waiting for? Start masking in Adobe After Effects and animating your masks to create slick and seamless transitions.
And if you are looking for a video editing company or explainer video production company, do get in touch with us.
Editor: Richa Sharma